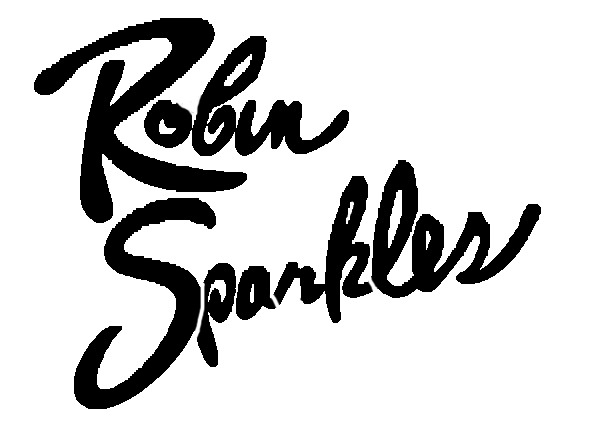
Now, if you're anything like me, you didn't just read the title - but sung it in a pop-y Canadian accent.
If you're not like me and don't watch way too much TV, you might not recognize it. But that is the title of the Robin Sparkles hit single "Let's Go to the Mall" as song by Robin Scherbatsky (as played by Cobie Smulders), one of the lead characters in the CBS tv show- How I Met Your Mother.
Come on Jessica, Come on Tory! Let's go to the mall, you won't be sorry!
So why am I posting about going to the mall you may ask?
Well - Boyfriend decided he wanted to be one of the other lead characters from How I Met Your Mother for Halloween - Barney Stinson as played by Neil Patrick Harris - so obviously I figured I should be Robin. And why be present day Robin when it would be so much more fun to bedazzle a jean jacket and walk around singing 1980's music (or well 1993 in Canada)?
So I went to grab my jelly bracelets and my cool graffiti coat but well - that's where this story gets going.
I'm a big fan of pinterest and the internet as a whole so I figured - hey - no way I'm not going to find a tutorial online about how to make a Robin Sparkles look-alike jacket, right?
RIGHT?
Wrong.
Yeah - hours of searching wasn't giving much by way of inspiration. But I bought the jacket and committed to the idea, so dammit I'm gonna be Robin Sparkles! I'm not the craftiest of people and would've really rather had someone else's work to follow as a guideline on what products to use and the like. But sometimes you just gotta work with what you got.
And here's what I got:
Levi's Denim Jacket - Purchased for $7 from the Goodwill
Puffy Paint in just about every color - I was in a Greek Organization in college so I know my way around some puffy paint and had all of this on hand.
Iron-on Rhinestones and Studs - $2 each from AC Moore
Spray On Fabric Glitter - $8 from AC Moore
Brush Set - $5 from AC Moore (I wasn't sure if I had any craft brushes at home and these were nothing special)
Fabric Paint - I forget but <$2/each from AC Moore
Black Marker - It's hard to see in the picture, but this little marker as saved my ass a few times in different things. It's double sided - 1 broad, 1 fine - and is pretty much always helpful.
Now the fun part - what to do with all this stuff?
Step 2
Where I drew with the marker, I went over with pink puffy paint.
If you look carefully, you can see places where my marker differs slightly from where I ended up painting. As it was, I started running out of room at the end of the "Sparkles" and tried to combat that a bit.
I don't have the neatest handwriting on the best of days but I've gotta say - I'm pretty happy with how that part of it came out.
Step 3
Fill in the bubble letters using the blue fabric paint using one of the thinner brushes - to help stay in the lines.
Not as neat as it could be but could've been worse.
Step 4
Robin's jacket has a shadowing effect behind the lettering. Using a wider, flatter brush- I tried to recreate this with the pink fabric paint as my shadowing color. With the brush pretty much vertically against the jacket, I dabbed bits of paint right along where it had been previously puffy painted. Then using the flatter part of the brush, I attempted to pull the paint away from the outline.
This kind of gave the effect I was going for.
Step 5
Bedazzle the hell out of the jacket.
So as you can see above, I bought some iron on rhinestones and studs for the jacket. Well fun story - after some research I learned if you iron puffy paint, you can set the jacket (and possibly the apartment) on fire. That's not the result I wanted. So I used blobs of puffy paint to press them on instead. I went mainly with the studs instead of the rhinestones - the rhinestones were too tiny to really make an impact in all the puffy paint.
Also I added some more than just what's shown in the above picture. Figured I could always use more.
With some studs I also added the little swirls with silver puffy paint. Felt it would look snazzy. Although the bottom one definitely came out good - I was disappointed in the swirls above the "i" in Robin. Oh well.
Step 6
Spray the jacket all over with the glitter spray. Because why the heck not?
Step 7
Gather there rest of your Robin Sparkles look and have a fabulous time at a costume party.
Cobie Smulders as Robin Sparkles in the Slap Bet episode of How I Met Your Mother
Me as Robin Sparkles the morning after my Halloween Party.
So I know mine is hardly a direct replica of the Robin Sparkles jacket from the Let's Go to the Mall video. When I find my camera cord (which has decided to be MIA), I'll grab the pictures in full costume and that also wasn't exactly the same as her outfit. Overall, rather than being a direct replica of Robin - I kinda tried to channel my inner teen idol in 1990s Canada. I figure if Robin Sparkles was touring a country for a year - she's gonna have more than one bedazzled graffitied jacket. Close enough though, eh?


No comments:
Post a Comment